OpenVPN Configuration
The following OpenVPN configuration tutorial applies to Linux. For different operational systems, please visit the following website and select the "OpenVPN" link of your system:
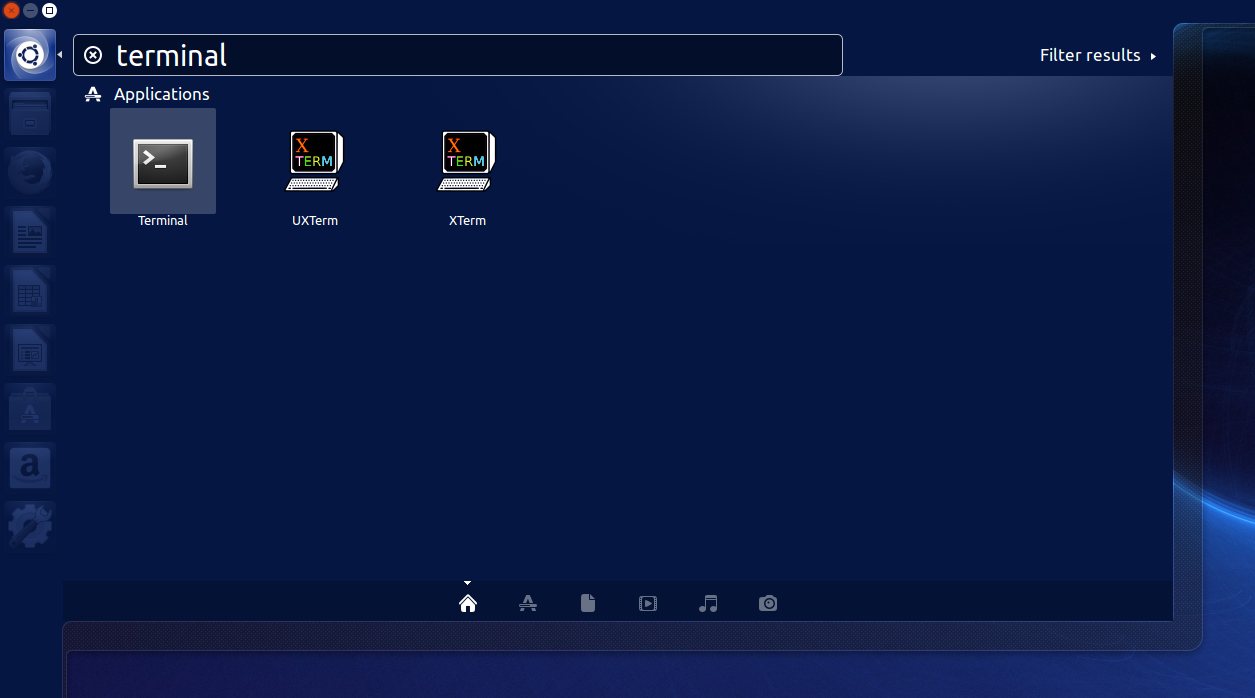
1. Open Terminal, Applications -> Accessories -> Terminal
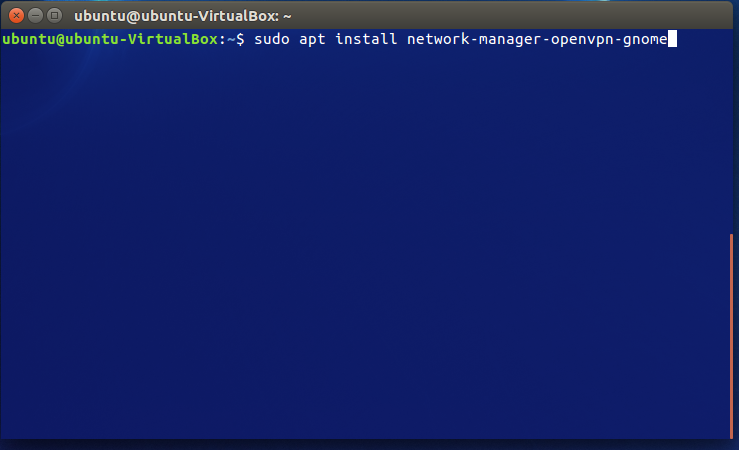
2. Install network-manager-openvpn by typing in Terminal:
sudo apt-get install network-manager-openvpn-gnome
Press Enter (Enter password if it needed). If that doesn’t work, try running these commands first:
sudo add-apt-repository universe
sudo apt-get update
3. You will be prompted: Do you want to continue? [Y/n]. Type Y and hit Enter.
4. Once installation is complete, restart Network Manager by typing:
sudo service network-manager restart
Press Enter.
You might need to restart your computer if the service does not restart this way.
5. Network-manager is now running. Now ask for the network administrator the following files:
vpn_{OS}_patreo.ovpn (Linux / Windows/ MacOS). Extract them into your selected directory.
6. Click on the double arrow button at the top right of the screen and then select Edit Connections… from the drop-down.
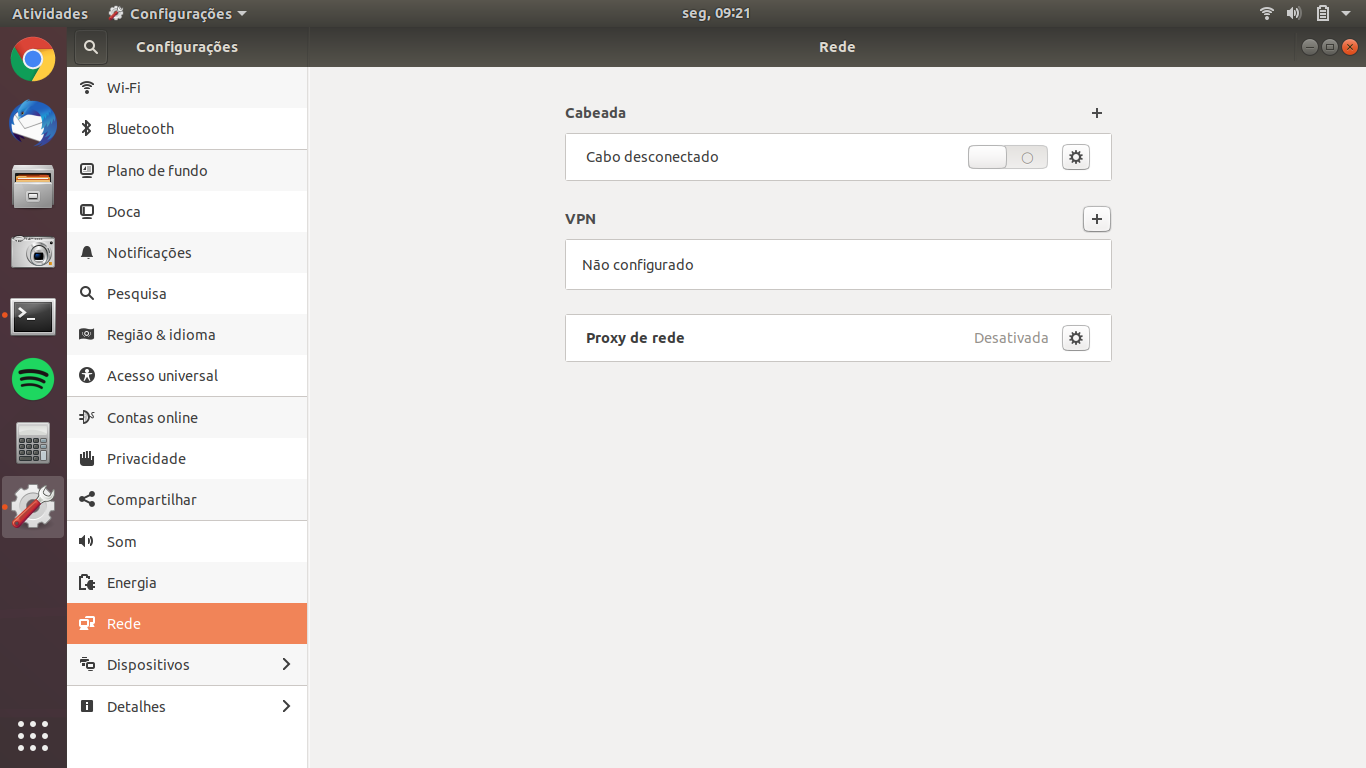
7. Then press Add (+).
8. You will be prompted to choose a connection type. Select Import from file… / Importar de arquivo...
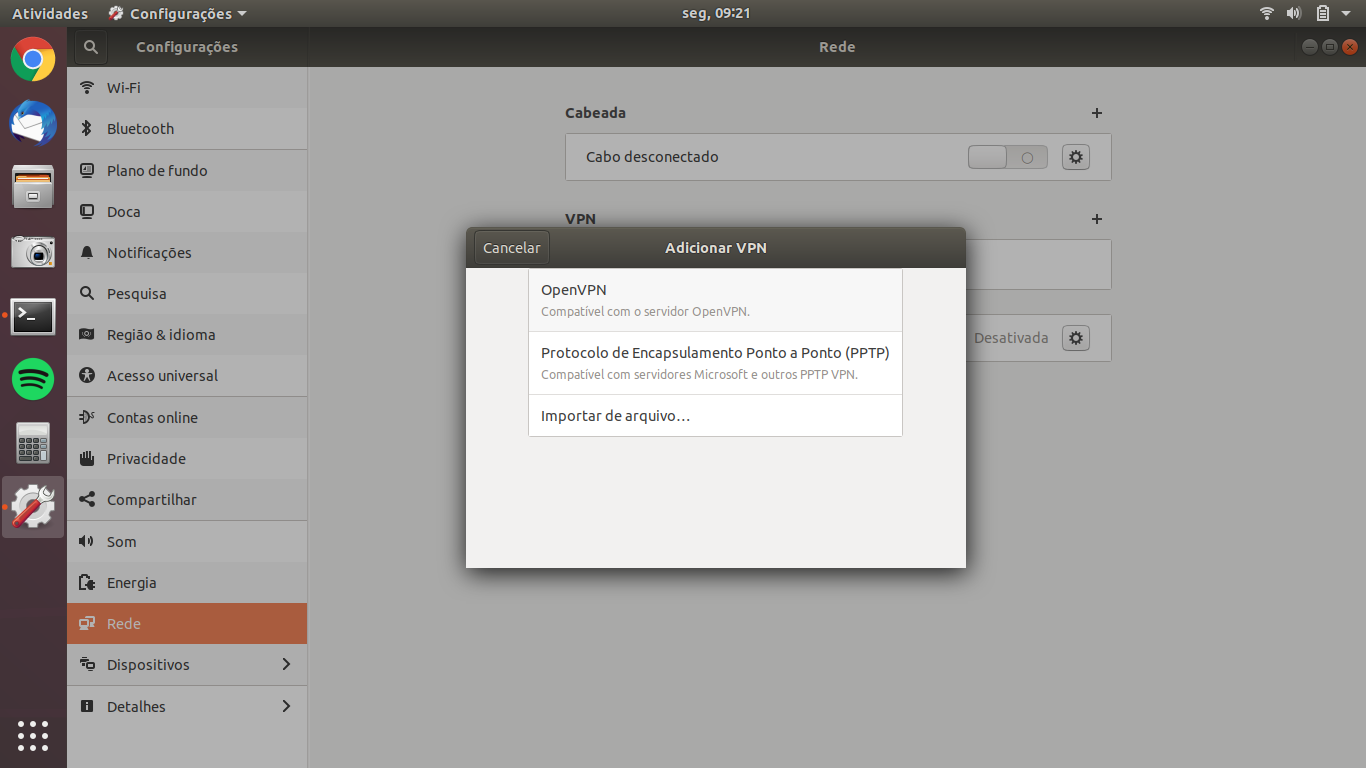
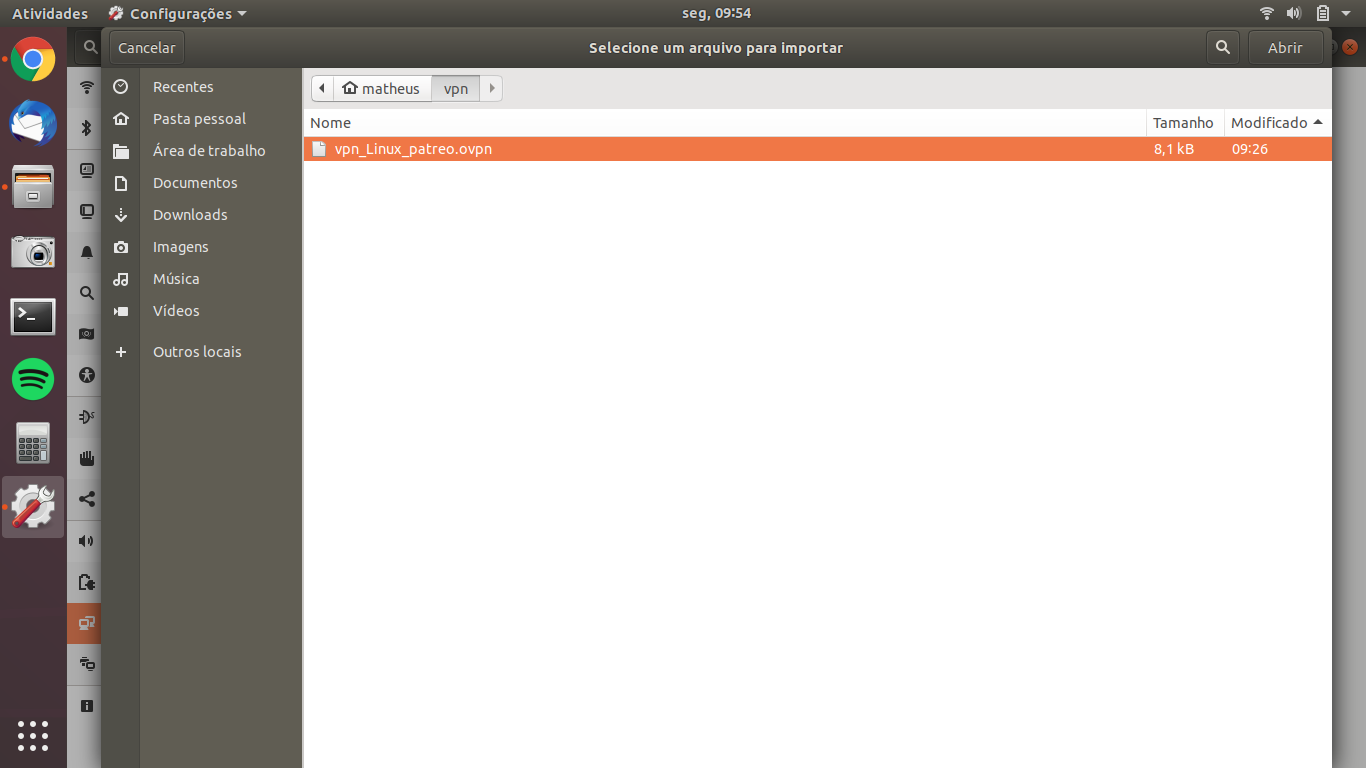
9. You will be asked to select a file that you would like to import. Please navigate to a folder where you have extracted the configuration files and select one of the files from the list (according to your operational system) and click Open.
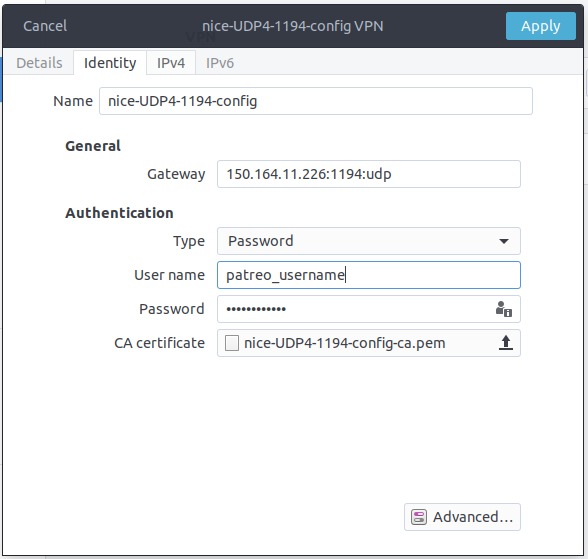
10. In the popped window put in your Patreo Username and Patreo Password. Then press Save. And close all of the open windows.
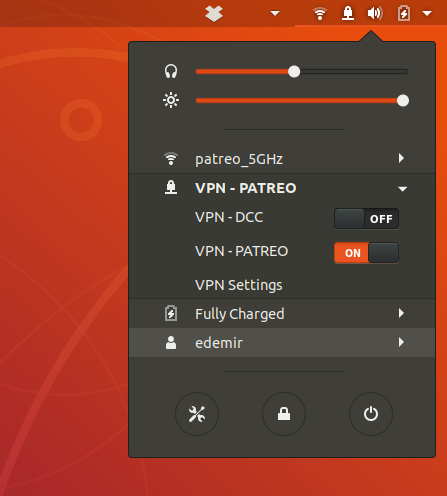
11. Now click on the arrow button at the top right of the screen again and then select VPN connections from the drop-down. Select the server which you have set up and click on it.
12. Congrats! You are connected to VPN. In our website you can check if the connection works well for you. Refresh the website and check if the status is shown as Secured.